

I am so glad you're here! This is my little corner where I get to share some of my most favorite images from engagements, weddings, births, my travels and my own little family from time to time. Hang out, look around, and please reach out to say hello!
explore:
welcome to my
home on the web
Weddings
births
Engagements
Families
Y’all… I don’t know what my deal has been this week, but I have been SLOOOOOOWW moving! Hence a blog post at lunch time! Gasp!
One of the things that I wanted to keep in mine with my business as it’s grown was that everything was cohesive. The colors you see the most of are brown and orange and you see them everywhere – on my website, my blog, PASS, Facebook, and Twitter. But I wanted that branding to flow into tangible things as well. This includes notecards and packaging when I send things to clients and vendors. And up until recently, I was using some notecards from a box of DIY printable invitations that we had used for our rehearsal dinner. They were ok since they were cream with brown trim and I would write with an orange pen. But it wasn’t what I was wanting for long term. I’d seen some things pop up on other photographer’s blogs and had even gotten some things in the mail. And let me tell you… 1) I love pretty mail. Who wouldn’t?? And 2) I really enjoy sending mail so why not let it be pretty as well as consistent with my brand?
After looking into a couple of options and even contemplating the easiest route of having cards printed, I decided to give the DIY a try. And you know what? I really like it. It’s simple, fairly inexpensive, and from here on out, the supplies I’d need to purchase are fairly minimal!
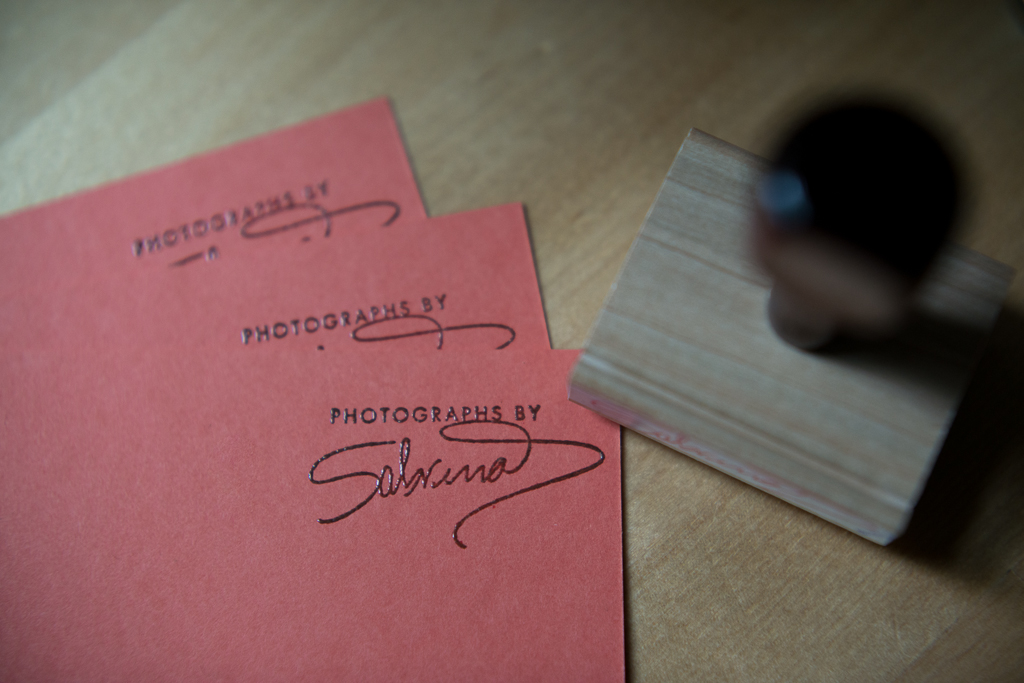
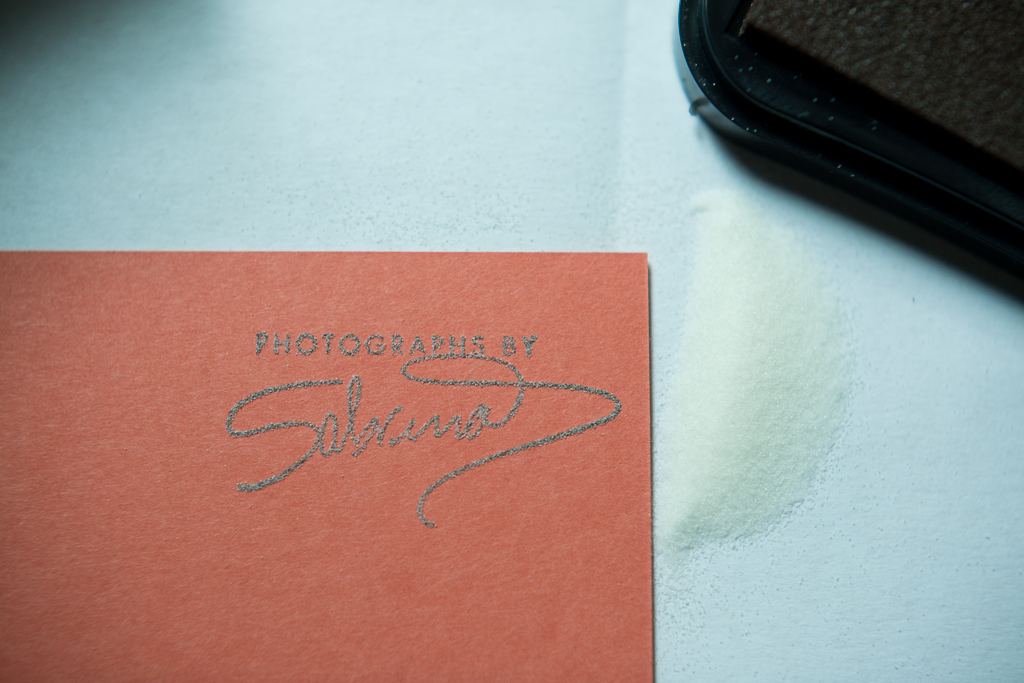
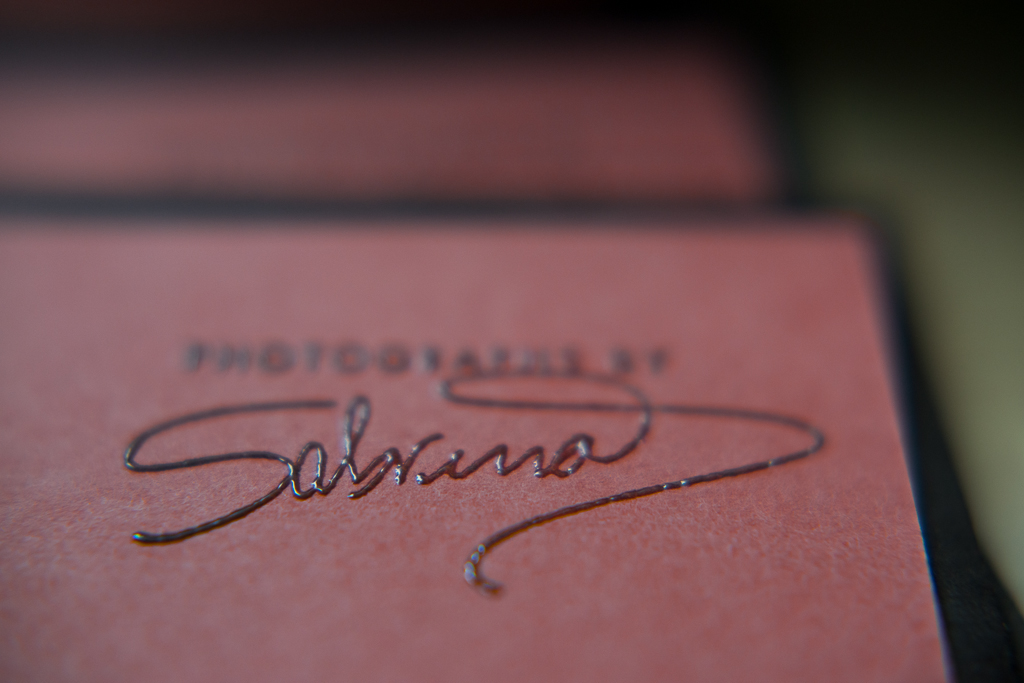
The notecards and envelopes are from Paper-Source.com (size A2). I was a little worried about the shade of orange (especially since you can see they seem to change color with the light in my images below!), but they’re pretty perfect. The stamp is from RubberStamps.com and I had to contact them about making one with my logo. I looked forever on their website about how to upload a file and have it printed, but for the life of me couldn’t see where or how! I finally submitted to the need to communicate with a person and they were super helpful :-) Everything else came from a local craft store!

I love how it looks embossed/raised and is a little shiny.
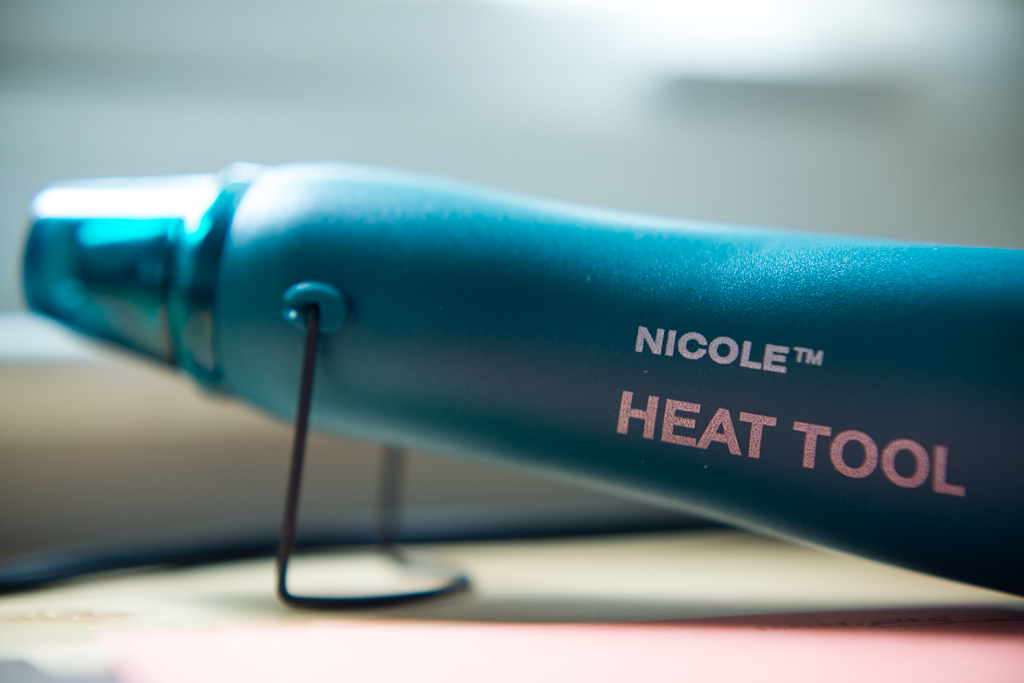
You’ll need a heat tool, which is just $20 from any craft store.
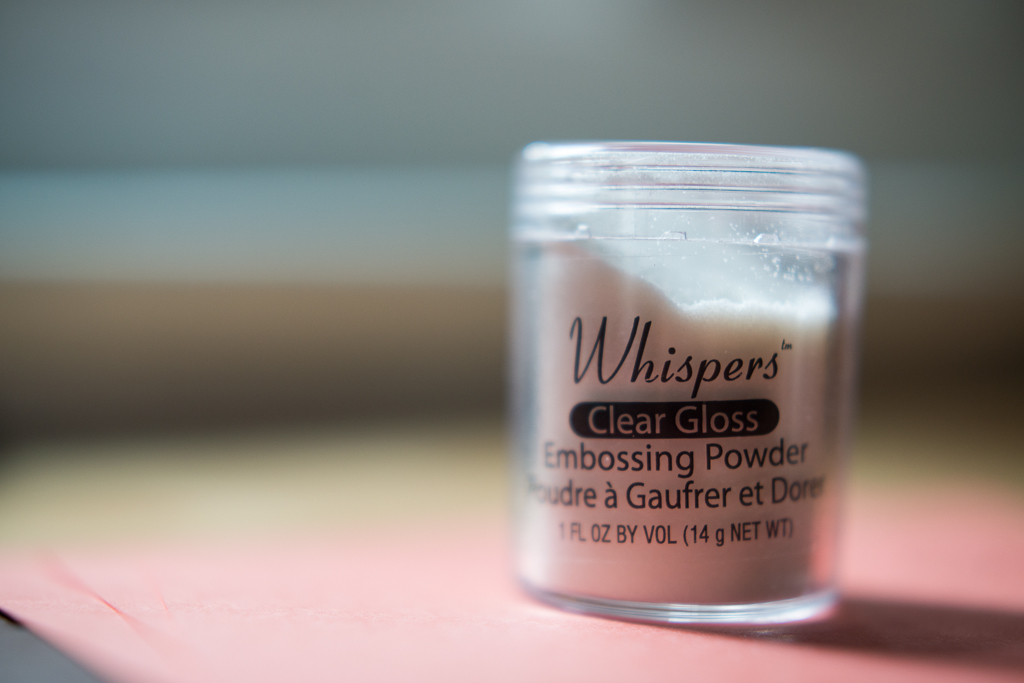
You’ll also need some embossing powder – there are several colors, but since I’d purchased brown pigment ink (be sure it says PIGMENT on it!), I just needed clear powder.

First things first… do all of this over a sheet of paper folded in half (I’ll explain why in a minute).
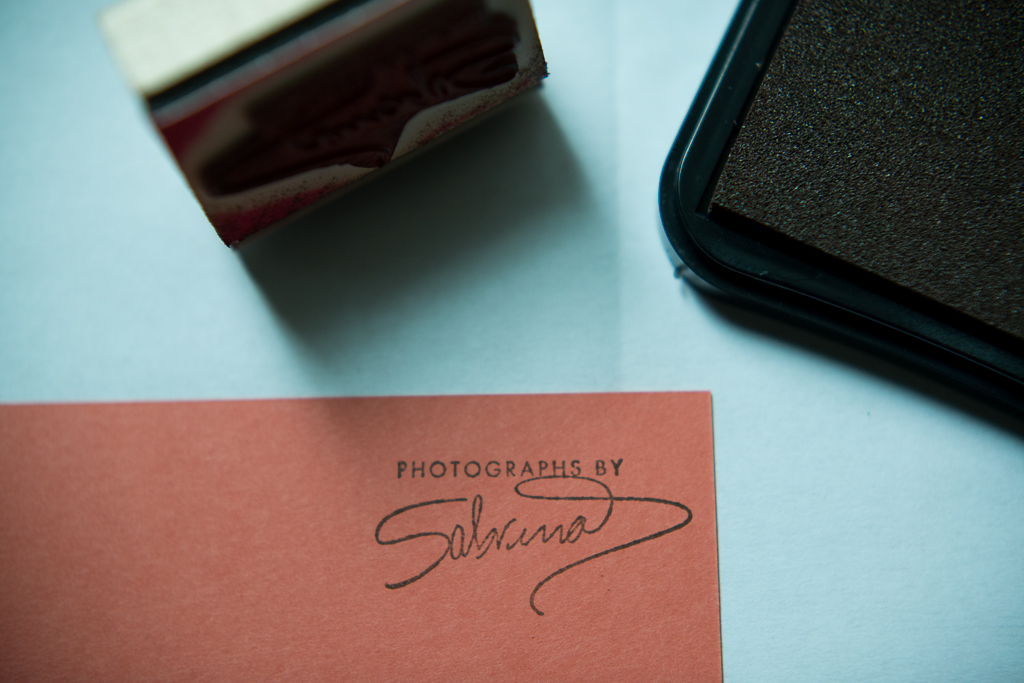
Second, just tap your stamp on the ink pad several times to coat it as you don’t want ink on all corners of the stamp.
Third, press the stamp straight down on your card so if there is extra ink, it won’t show up (I’ll explain more on this in a minute too!).
Next, generously sprinkle the embossing powder over the stamp. If there are any extra spots of ink, the powder WILL cling to it. So be as careful as you can stamping!
(A good idea is to try on regular paper first so you get the hang of it… and don’t waste any of your notecards. Yes, I speak from experience…)
Once the stamp is covered, tap off the extra powder onto your folded sheet of paper. Try and wipe off any stray grains from the notecard.
You’ll then be able to take the sheet of paper and funnel the extra powder back into its little jar! Seriously, I think this stuff will last forever!
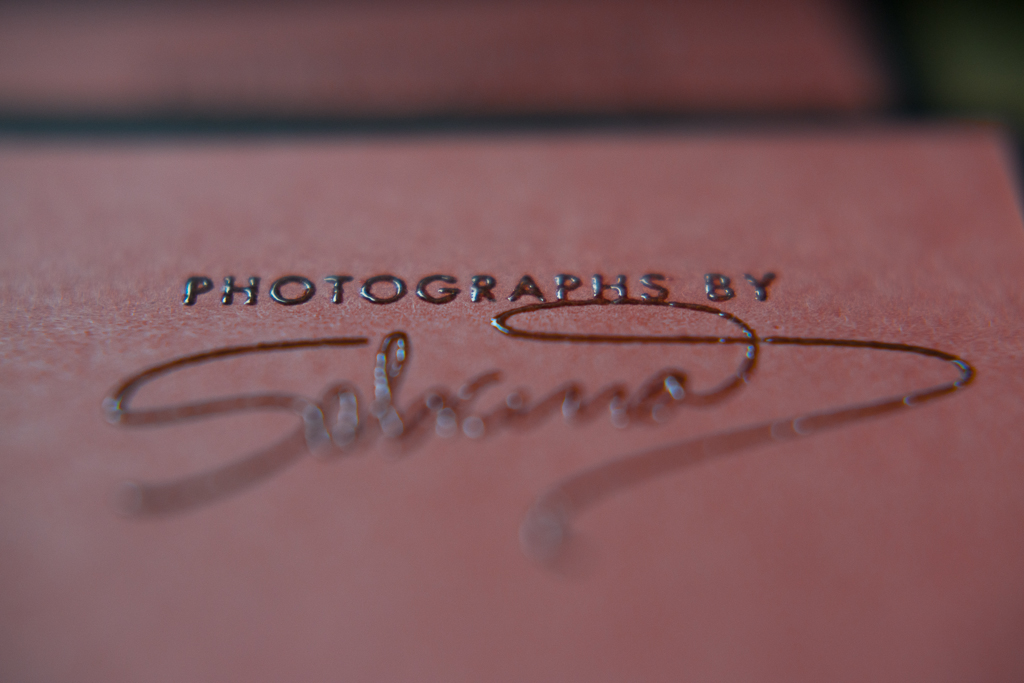
Finally, take your heat gun, turn it on, and wave it over the powder covered stamp and you’ll see it start to “melt”.
Do you see those tiny spots that look wet? Those were extra grains of the powder that I didn’t get wiped off.
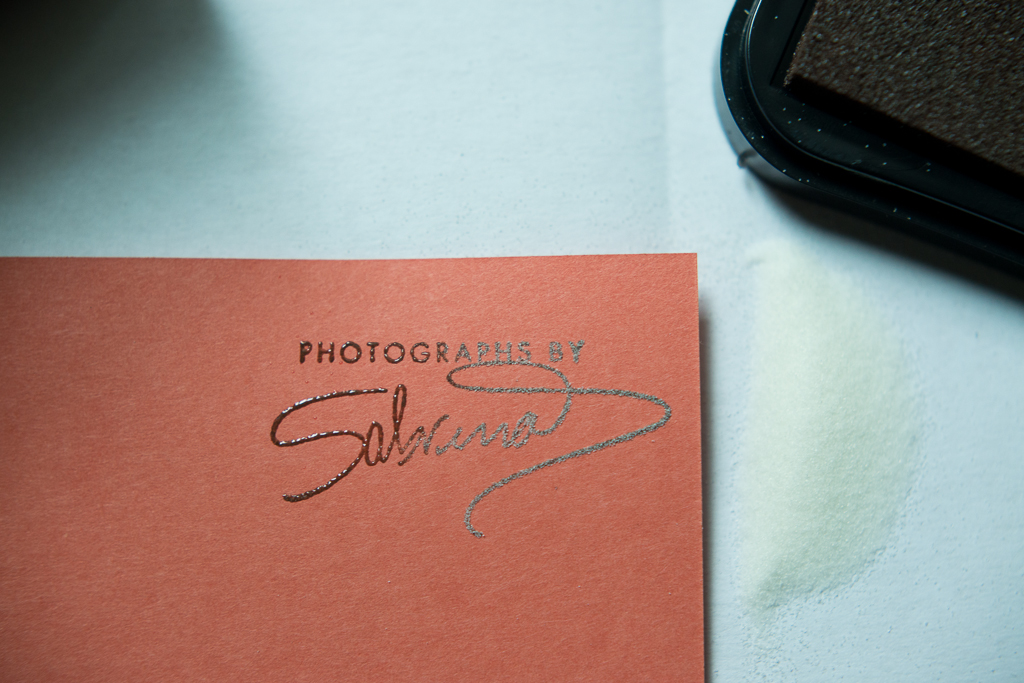
And voilà!
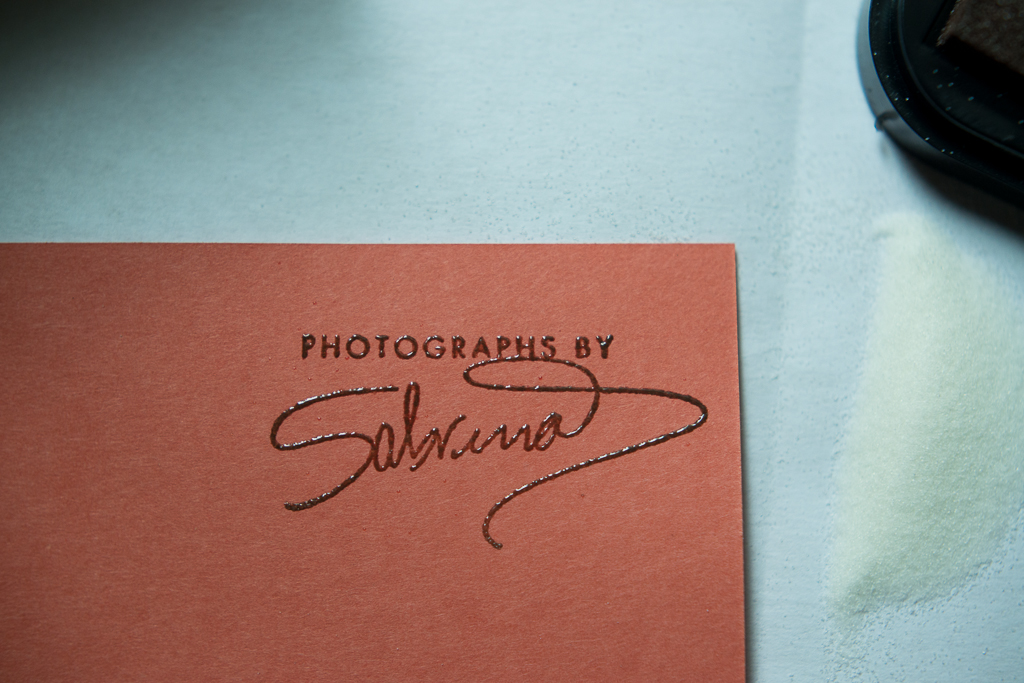
Isn’t it lovely??
(And see what I mean about the color of the paper?? It also could be the cloudy day and lack of light coming through my window…)
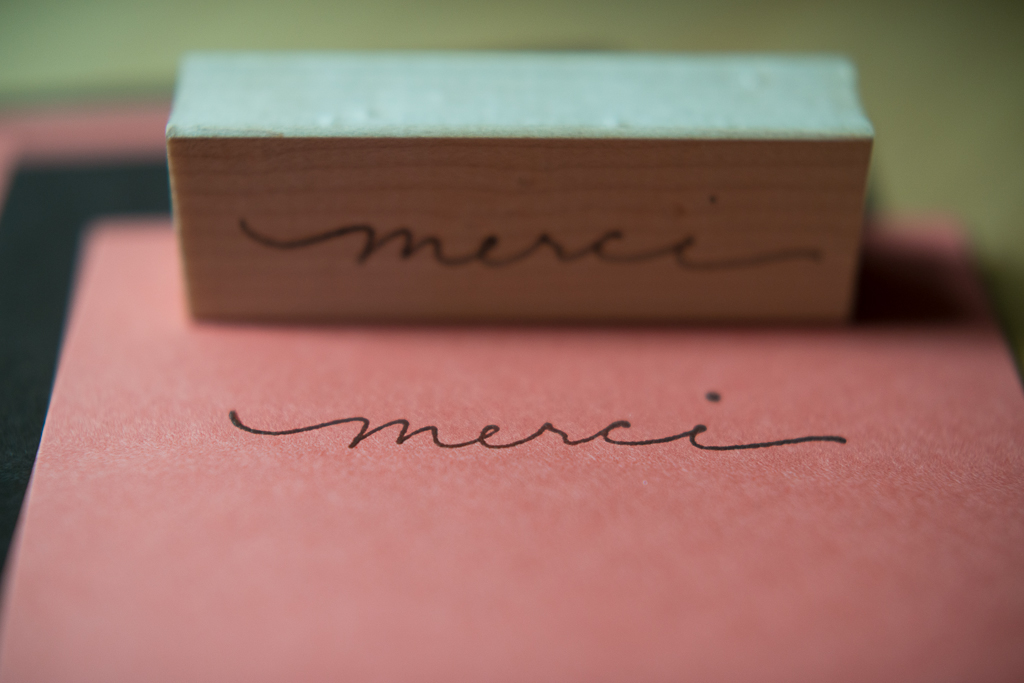
And because I like stamps so much (and wanted to give all of this a try before my logo stamp arrived), I found this merci stamp to use too!
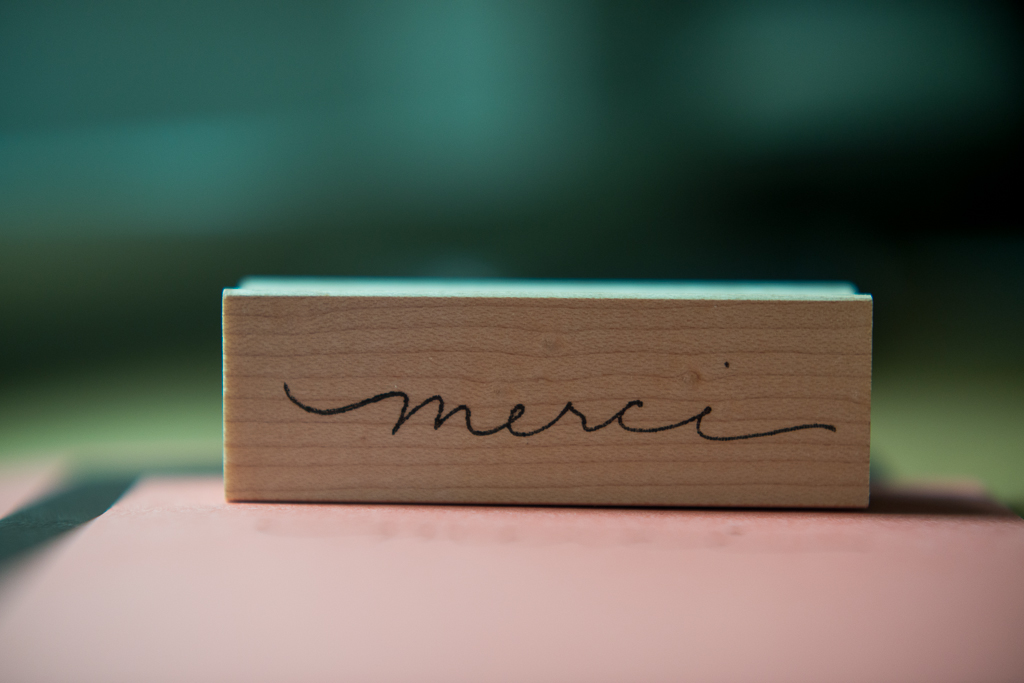
It fits with my branding and makes for a perfect thank you note to my brides!
Happy Wednesday, everyone!