

I am so glad you're here! This is my little corner where I get to share some of my most favorite images from engagements, weddings, births, my travels and my own little family from time to time. Hang out, look around, and please reach out to say hello!
explore:
welcome to my
home on the web
Weddings
births
Engagements
Families
When I was getting started in photography, I was close to clueless. All I really knew was that I really enjoyed taking pictures and that I needed a better camera than a point and shoot to get shots that I really wanted to get. So I was soaking up as many things as I possibly could! But there was SO much talk about shutter speed and aperture and ISO and I would easily find myself overwhelmed and would have to walk away for a bit. So I’m hoping that a few of these tips will not only be easy to understand but will help with improving your photos, whether you’re taking them on your phone, a point and shoot, or your brand new DSLR!
But before I dive into these tips, the very first thing you need to understand is ISO (International Organization for Standardization). I used to explain it as film speed (you know how you could purchase film at 200, 400, 800 and Max? No? Ok, moving on.) but most people either have no clue or they don’t remember what those meant. So instead, I’ll just keep it simple… The more available light you have, the lower your ISO can be. So if you’re shooting outside on the beach, you can go as low as 100 or 200. But if you’re indoors with just a little bit of light from a window, you may need to go up to 1600 or higher. The thing to remember with this is that the higher the ISO, the more noise (graininess) you’ll have in your images. Some people love this, but it’s really just a personal preference. ISO can be changed on any DSLR and on most point and shoot cameras. It’s different for every camera so look around in your menu or even pull out the manual to figure out where it is and how to change it.
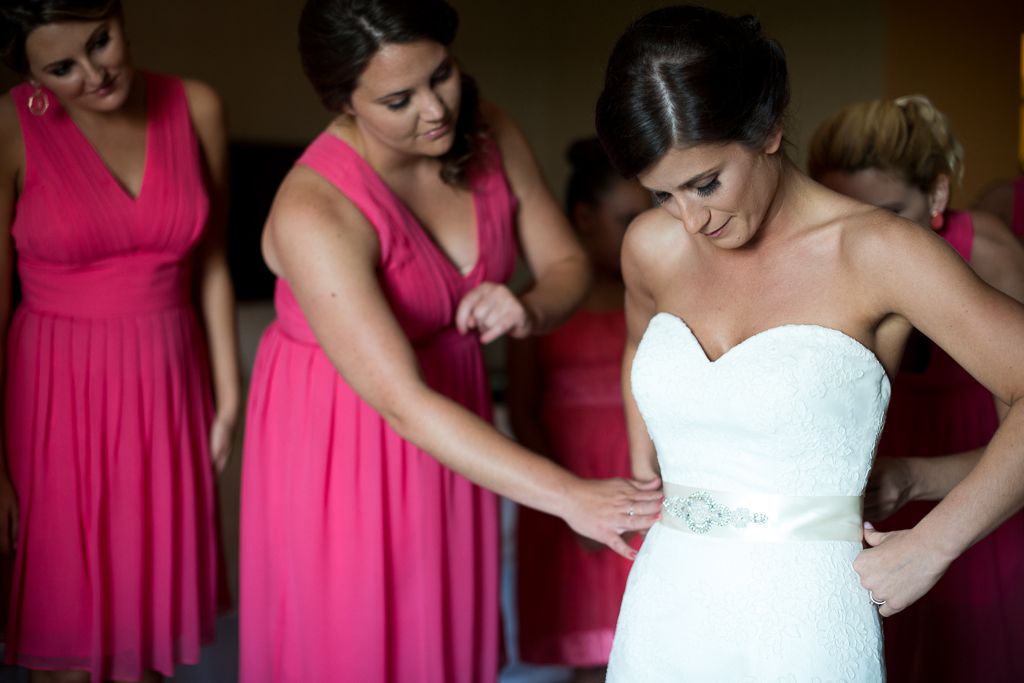
1. If indoors, face your subjects towards natural light. We all think that any light will do, but different kinds of bulbs have different color tones to them. And even though we think of the sun as being yellow, it gives the most natural look to everything around it, including things inside. So, while brides and bridesmaids may give me funny looks when I ask to turn off the lights in a room, it actually helps the photos look that much more clean and natural!
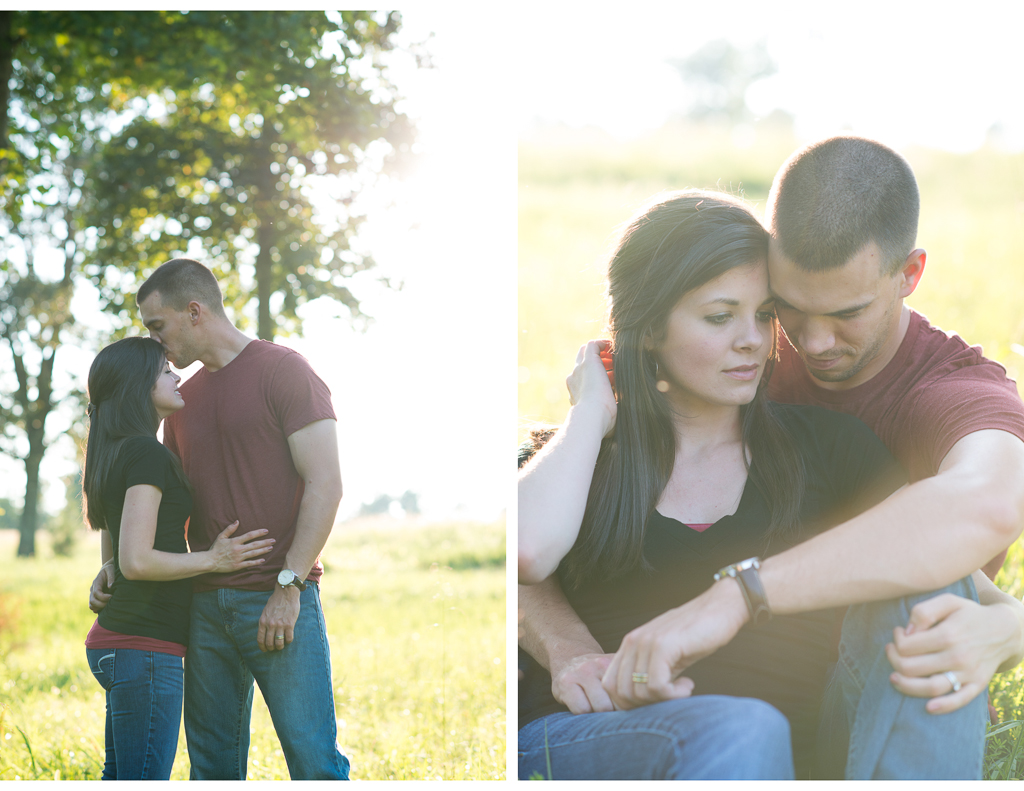
2. If outdoors, face your subject AWAY from the light. I know this is already a lot to remember, but one thing that has always helped me is to think whether the person will have to squint their eyes to look at the camera. So, if they’re outside and facing the sun, they’re going to have to squint because SO much light is coming into their eyes! So, just turn them around!
Do you see the line of light around Brian and Katie‘s heads below? That’s called rim lighting and it happens because they’re back-lit, meaning the sun is behind them.
2b. If it’s an overcast day, face your subject TOWARD the light. (So confusing, I know!) When the clouds are covering the sun, even though the light is dispersed and makes everything so nice and evenly lit, there shadows can still occur because the sun IS out. So, stick your hand out in front of you and figure out where the sun is (which side of your hand is brighter than the other) and face your subject/client in that direction. If they’re still squinting a good bit, you can face them away from the sun and adjust your camera settings accordingly.
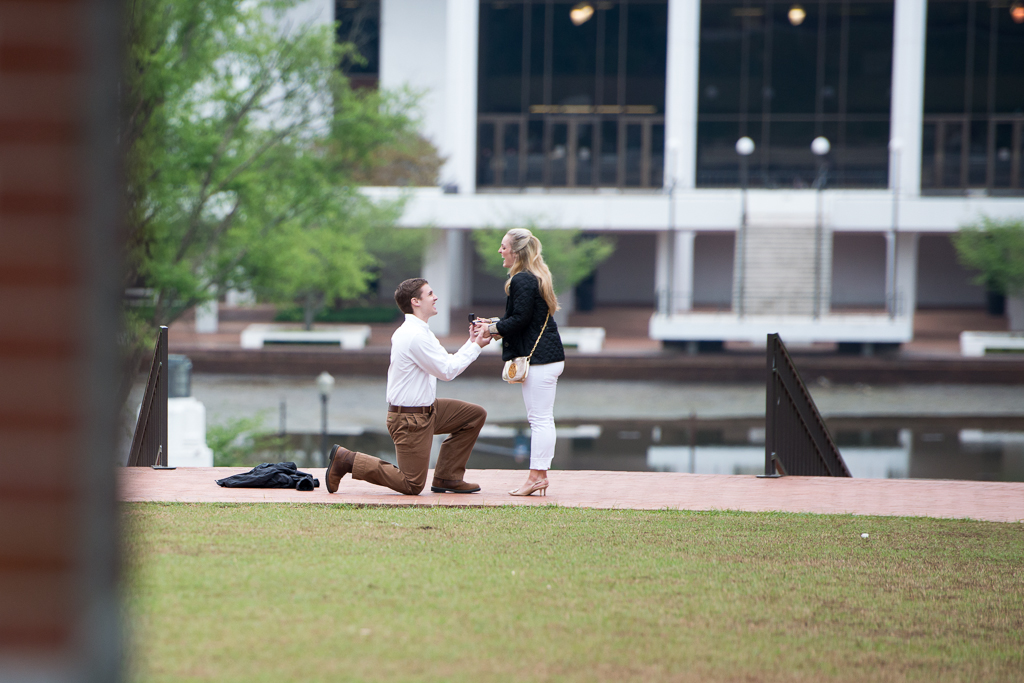
For Molly and Ryan’s Clemson proposal, my job was made easy in terms of hiding because the clouds were covering the sky.
And since I was able to shoot from one spot, I adjusted my camera for that spot and didn’t have to worry much about lighting.
3. A Phone tip: If you don’t have enough natural light, use a little off camera lighting (instead of the flash on your phone)! The flash on your phone or camera sends a burst of bright light DIRECTLY at your subject. Using off-camera light softens the look of the photo. I know what you’re thinking – “Sabrina, I’m not a pro. And I’m not spending hundreds or even thousands of dollars for lighting equipment.” No worries! All you need is someone around you that has the Flashlight app on their phone. Get them to shine it on your subject and voila! However, this really depends on what the subject of your photo is. We’ve really only used it for plates of food and small objects. Just remember that the amount of light you have should coordinate with the size of your subject. For instance, the flashlight app may work great with one or two people or kids (if you can get close enough), but it won’t work for a large group of people.

4. Keep your camera still when you don’t have a lot of light. I’m a natural light photographer most of the time, meaning I will more likely push the limits of my camera and use whatever natural light is available so that I don’t have to use a flash. This tip is especially true for taking photos with your phone because you can’t control the settings. If you’re using a DSLR, a point and shoot, or your phone, one way you can prevent camera shake (which happens when there isn’t a lot of light and your shutter speed is slowed down in order to let more light into the camera) is to steady the camera. I’ve done this before by holding my camera with both hands with my arms bent and as close to my body as possible. I’ll also take a breath and breathe out slowly as I click the shutter. Another thing you can do is to rest you or the camera against something sturdy and solid – like a wall, lamp post, bench, etc.
5. Use the self-timer! Since I didn’t have a tripod at the time (and I don’t often carry it with me on trips) I remember hearing about this trick a while back and then trying to get some night shots while in Vancouver, Canada. There were some rocks on the other side of the water from the skyline so I set my camera down, made sure it was steady, then set the timer, clicked the shutter and backed away. This way, I wasn’t touching the camera which meant it could be on a low shutter speed (allowing for the most light possible to get into the camera) and I wouldn’t mess up the photo with my shaky hands. I’ve used this trick so many times and it’s like finding gold!
I also used this trick for this photo of Tower Bridge in London. We were standing on London Bridge looking across and the best photo I could get was when I set my camera down and used the timer! It’s not the most technically best photo ever, but for what I knew then and for what I was trying to get, I was super proud of this photo!

I hope these tips have been helpful! If you have any questions at all, leave them in the comment box below and I’ll get back to you or even do another blog post!
Happy Thursday!